R.O.V. Team Uniud
SELF NAVIGATION
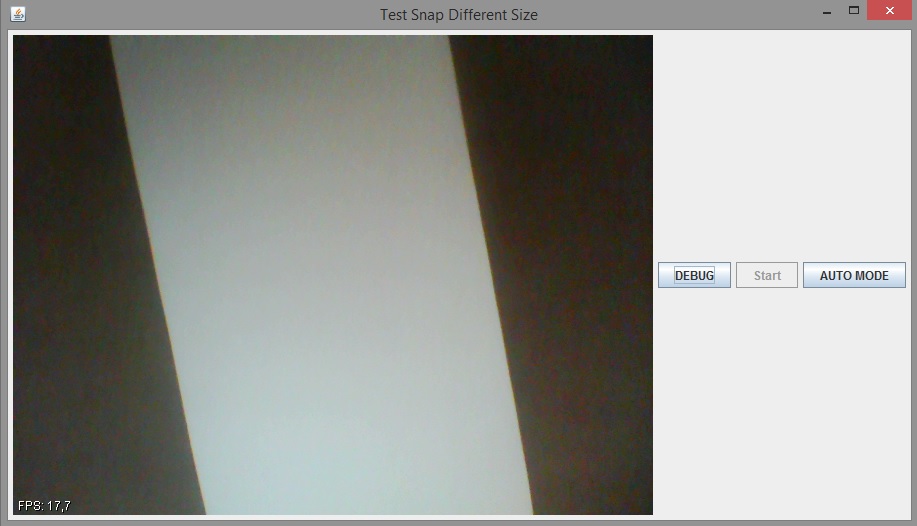
The purpose of this section is develop a self navigation system, that consists in following a white stripe placed on the ground by capturing a frame from a webcam and choose the direction to take automatically. The software, developed in Java, consists in several steps, that are explained in the following sections. All the library used are cross compilable on ARM architecture, indeed the purpose of the project is to mount the software on a ARM based system, in particular Raspberry PI. The interface was created as software debug and consists in a window where it is possible to see the video stream from the webcam and three buttons: Start, Debug and Auto Mode. The Start button run the software and then the webcam stream is visible. By pressing Debug button it's possible to acquire only one frame from the video stream and the command to send to the engines is generated. The Auto Mode button runs the software automatically and it starts to acquire the frames and generates the commands. The following figure shows the interface of the software.
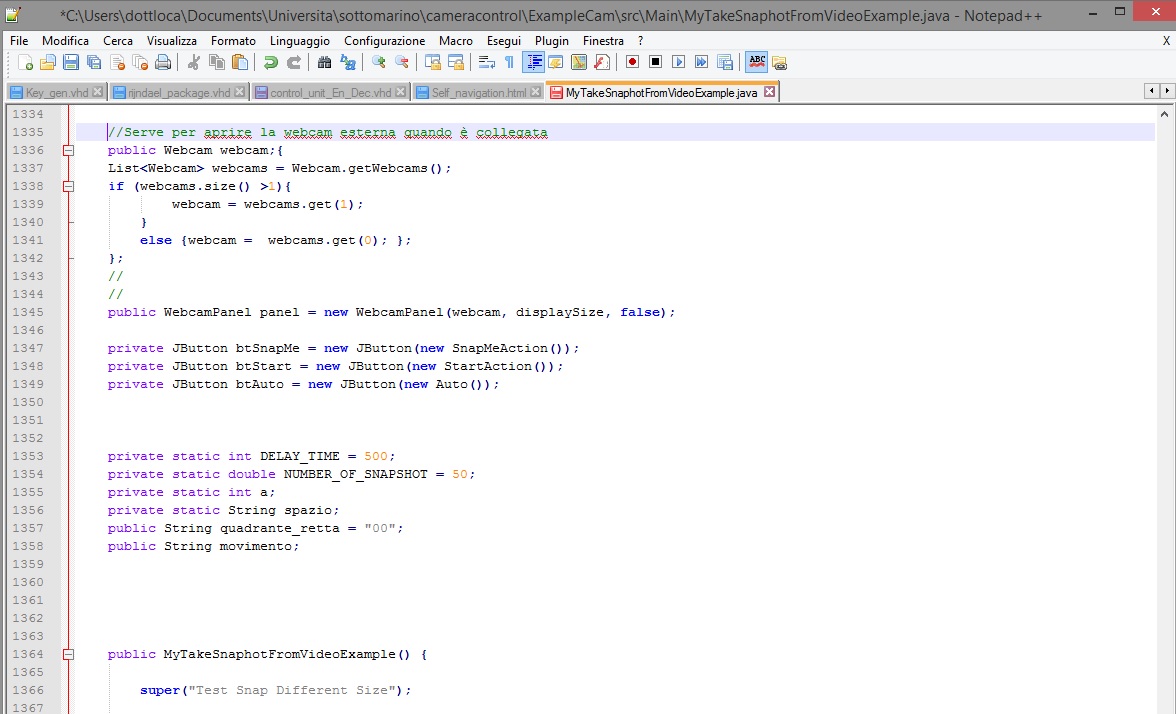
Also, as shown in the following part of the code, the software recognizes any type of external webcam and the priority is given to that camera.
In the figure below is shown the block diagram of the system, from the input stream of the webcam to the movement that is sent to the engines. The diagram has a feedback because the process is done at every clock cycle, every 80 msec. Each block is explained in detail below.

FUNCTIONINGFrame Capture
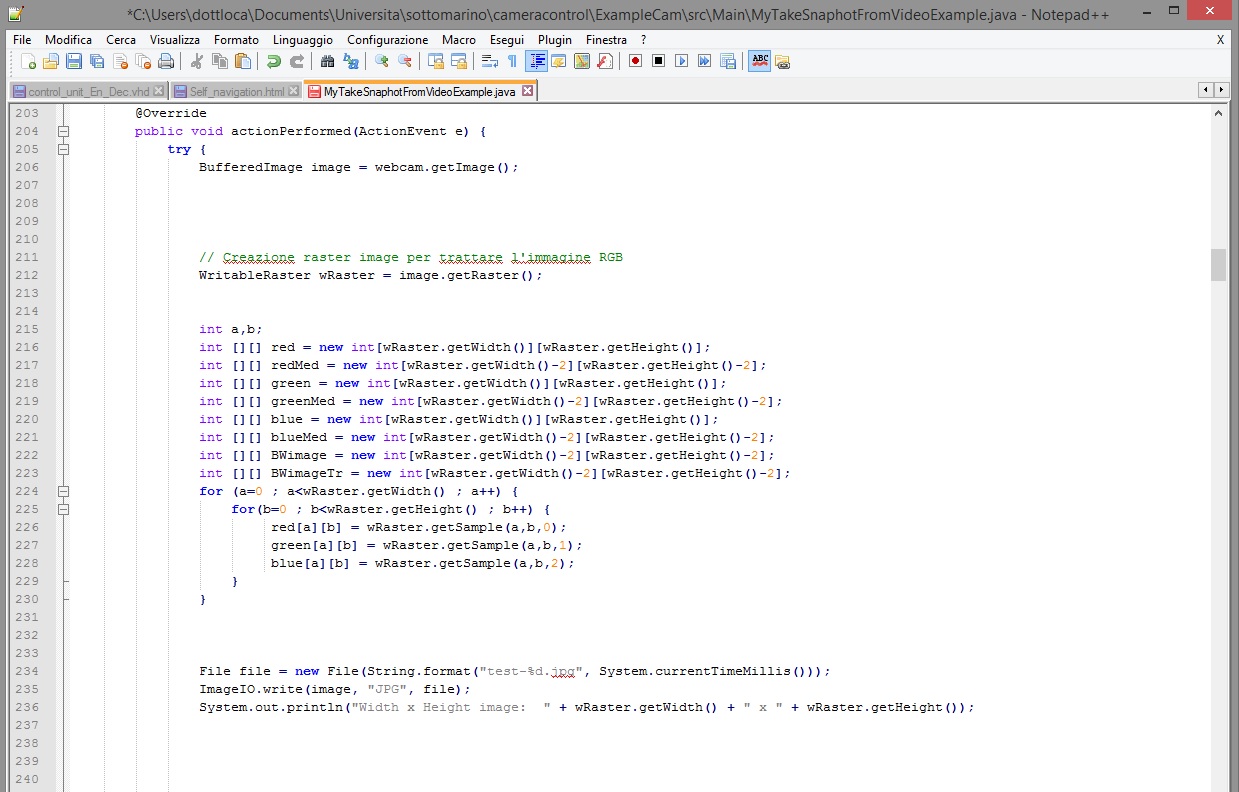
This block allows to capture a single frame from the webcam stream using the webcam-capture java library and save it in BufferedImage; the figure below shows the part of the code that implements this operation.
The pixels of the frame are treated separately and all the components red, blue and green are rastered and then they are saved in a file.
Median Filter
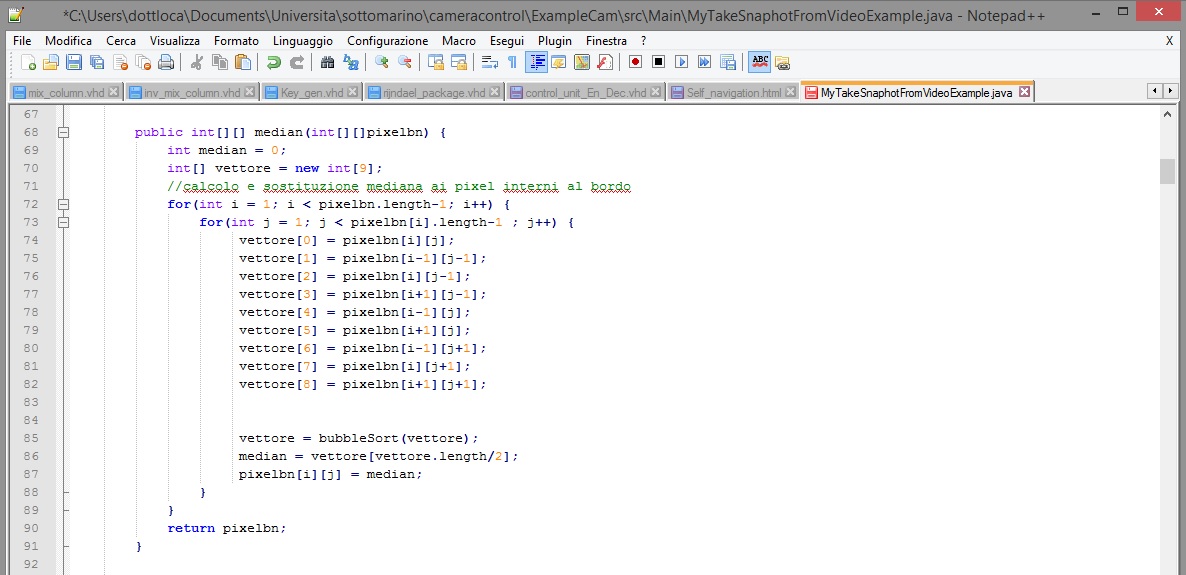
The median filter is a nonlinear digital filtering technique, used to remove noise. Such noise reduction is a typical pre-processing step to improve the results of later processing. The part of the code that implements this filter is shown in the following figure.
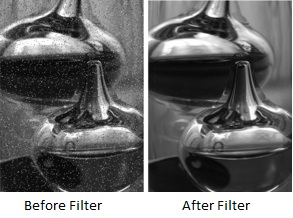
The algorithm of the filter is shown in figure: the main idea of the median filter is to run through the signal entry by entry, replacing each entry with the median of neighboring entries. The filter is applied to each component of the pixel. An example of the application of this filter is shown in the figure below, to understand how it works.
B/W Filter
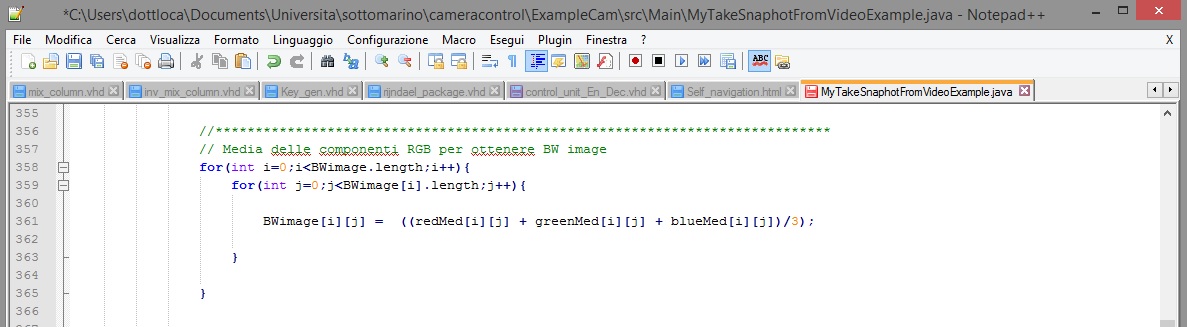
This filter transforms the image from colours to grey scale and it is obtained by calculating the average of the components red, blue and green of each pixel. This operation is necessary to apply the Threshold Filter, explained in the next section. The simple code is shown in the following figure.
Threshold Filter
To recognize the white stripe is necessary have a image with white or black pixels and it can be obtained by transforming the greys pixels to a black or white pixel, using a threshold. The threshold can be modified by setting the variable soglia, so this filter works better in every lighting condition. The code is shown below.
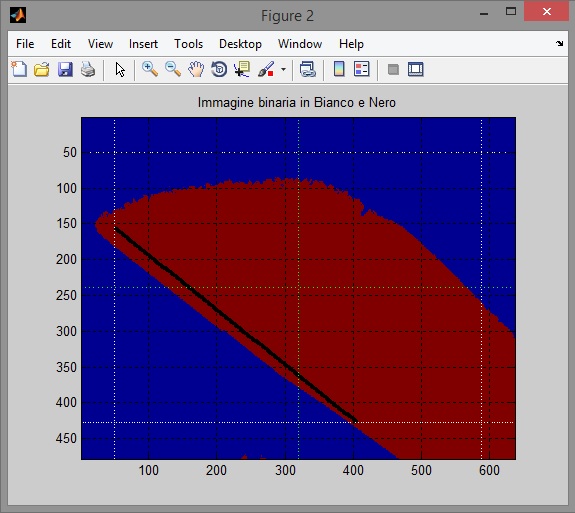
The result of the Threshold Filter is shown in the following figure, obtained implementing a Matlab script that generate the image filtered.
Detect Stripe and Movement
This is the most difficult part of the code because to generate the right command to sent to the engines is necessary to recognize the direction of the white stripe. To do this we have implemented a code that identifies two dots on the border of the image, that correspond to the direction of the stripe, considering any case that may occur and all the positions and inclinations that the stripe can have in the image saved. To avoid all the edges effects, we have considered a smaller image from the borders, using a specific variable. This part of code is shown in a github repository available at the link below.
Detect Stripe and Movement Code
The last part of the algorithm is generate the command to send to the engines. According to the positions of the dots identified, is possible to understand where the stripe is positioned in the image, and finally generate the command, assigning the correspondent word to the variable movimento. This variable is sent to the code that controls the engines. The black line in the figure below is drawn by the Matlab script and correspond to the decision of the movement that is taken, to understand if the algorithm works in the right way.
In this section is shown an example video where it's possible to see how the software works. We generate an executable file to show the functioning of the software. First we run the program and the video stream appears, then by pressing Debug button only one frame is saved in a file; to see how the program takes the decision, we use the Matlab script as shown in video that generate two figures: the first is after the application of the Median Filter and BW Filter, and the second picture shows the stripe after the Threshold Filter, and also the black line that identifies the position of the stripe. The last step is to show the command generated: it is written in a text file called OUT.txt that contains the dials crossed by the black line and the word that correspond to the command to send to the engines. The video is shown below.
We also have done a second video where is shown the functioning in Auto Mode: all the images are saved in a folder, that correspond to the movement of the stripe in front of the webcam. The commands are generate automatically and overwritten in OUT.txt. The video is shown below.
© Locatelli A. - Scarsini M. - Università degli Studi di Udine - a.a. 2012/2013